
HJ-Dental

E-mail:hj.dentalsale@gmail.com
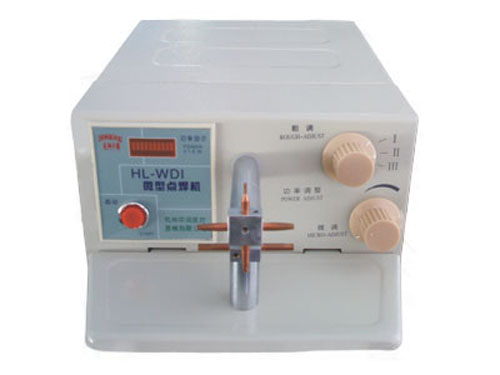
HL-WDI Dental Spot Welder
1. Main characteristics of the machine:
(1). the electrode can be adjusted as different combination to suitable with different weldment.
(2). the weld power can be adjusted, coarse regulation: three gears, fine regulation: continues.
(3). the weld power display used latest light pillar type LED display.
(4). the cover adopts fashion style and aesthetic in appearance.
2. Main technique parameter:
(1). Power supply: 220V±10%, 50HZ±1HZ □ or 110V, 60HZ □
(2). the average input power: 0.1KVA
(3). Energy storage: 2-50J
(4). Rate of production: 15times/minute (MAX)
3. Structure:
Back of the machine has power switch, fuse tube and foot switch. Foot switch can use for start and stop welding.
At the front-panel left side of the machine, there’s light pillar type display indicating size of energy, under LED display, it has a “Start “ button, used for start and stop welding.
At the right side of the front-panel, there’s power choice button (coarse regulation) and power adjust button (fine regulation)
There are two electrode arms, each has four electrodes. Vertically rotate to choose the suitable electrode combination, the electrode can rotate 90 degree to the right position automatically at each time. So it can make up different sets of electrode combination to adapt various different welding.
For some special welding, it can also use oxygen-free copper electrode bar.
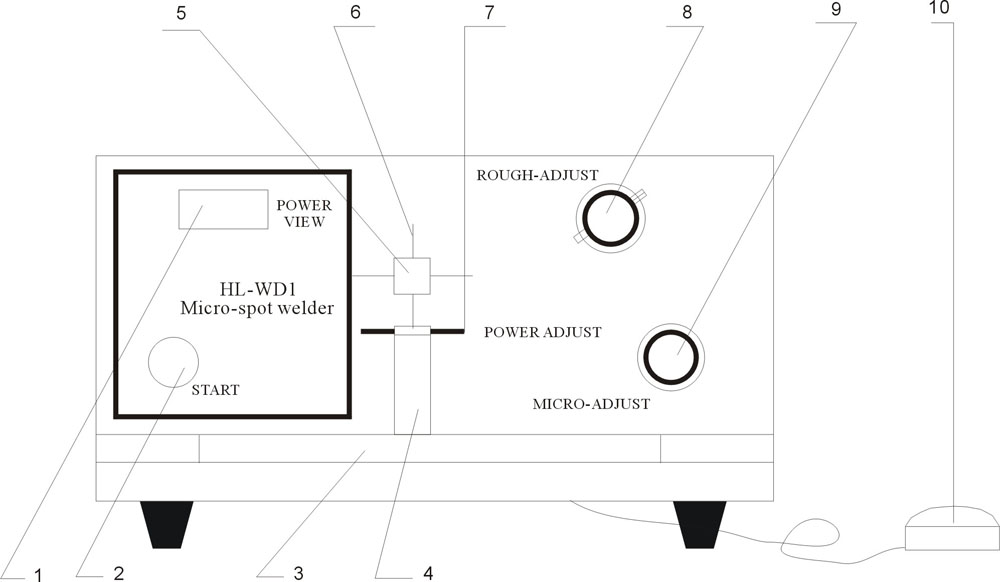
1) Light pillar type LED display 2) the welding start button
3) The press plate 4) lower electrode arm
5) Top electrode arm 6) top electrode
7) Lower electrode 8) the power choice button (coarse regulation)
9) The power adjust button (fine regulation) 10) foot switch
4. Operation method:
1, according to the welding choose suitable electrode, check the oxidize condition of the electrode, if it was oxidized, please sanding with sand paper or smooth file.
2, the weldment should be clean, no oxidization, without greasy dirt.
3, connect the power supply, turn on the power switch, and adjust “power choice button” according to the size and thickness of the weldment.
4, Press down the pressure plate, then relax the welding pressure pad slowly; make sure the top and bottom electrode compressed the weldment tightly. When the weldment at the right position press “Start “button or foot switch, it will finish welding once the display goes out. Release button, capacitance will be charge to appointed voltage (display lighten), take off the weldment and then continue next welding.
5, after welding, put discharging block (enclose with machine) between top and bottom electrodes, turn off the power supply, and press “Start” button to release energy. Adjust coarse regulation to lower range (I), counter-clockwise the fine regulation to minimum position.
6, If not use the machine, the top and bottom electrode should be separated, in order to avoid affection of the electrode because of long time connection.
7, LED light pillar display shows voltage, the size of light pillar refers to linear relation with voltage, and the welding energy refers to quadrate relation with voltage. The same size light pillar under the nuance, please use fine regulation to adjust the right position.
5. Announcement:
1)Must use the single-phase three-pin power supplies, guarantee that the case of the machine connect to the earths to insure safety.
2) Put the machine to the dependable place.
3) Use AC stabilized supply, if possible, since it can guarantee the welding power stability, and reduce affection to other electric appliance.
4) The electrode must be rotated with clockwise.
5) When adjust the power, it can put discharge block between electrodes, press welding start button one time to release the remaining energy, so that make sure the next regulation be correct.
6) When the welding power is big, or the weld material get in bad connect, please prevent the splash thing burning human body, the operator must use the protective glasses and protection gloves.
7) After using, wipe the machine clean, put it at dry ,well-ventilated and no causticity air indoor place.
8) When the machine breaks down, contact with the factory or sent repair by the professional person in time.
6. Square frame diagram of the electricity principle:

7. The enclosure general chart (parts list)
①Main machine 1set
②Power cable 1 piece
③Foot switch 1 piece
④Fuse 5A 2 pcs
⑤Discharging block 1 piece
⑥Warranty card 1piece
⑦Certificate 1piece
⑧Manual 1piece
8. Quality assurance
Please read the rules carefully in the repair card, and return back the receipt, it benefits for product maintenance. We warranty Two-year.
TÜV ISO13485、CE Certificate
you may want……
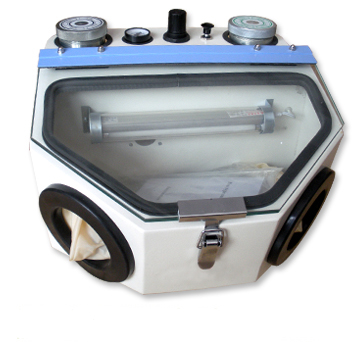
JNBP-3 PEN TYPE SAND BLASTING MACHINE (TWO-PEN)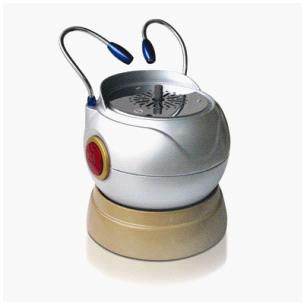
Dental Ball Type Arch Trimmers JT-37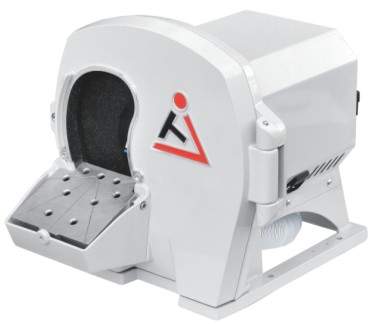
DENTAL PLASTER MODEL TRIMMER JT-19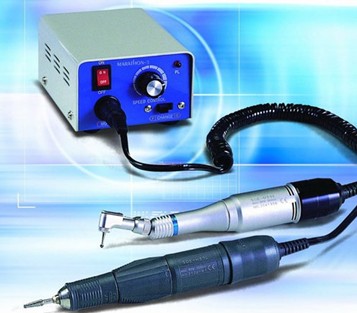
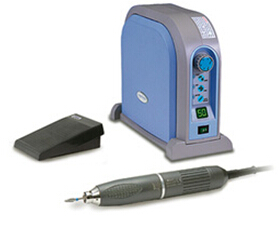
Korea Seayang Micromotor H37L1 + Marathon-3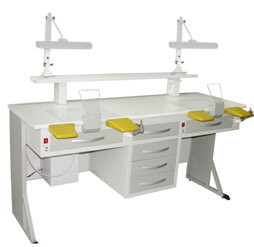
JNJT-9 Technician Table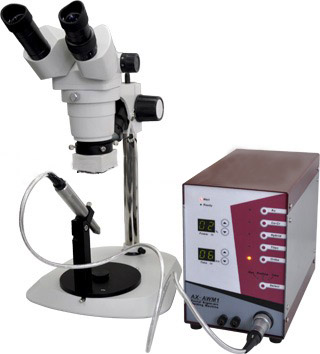
Dental Argon-arc Welding System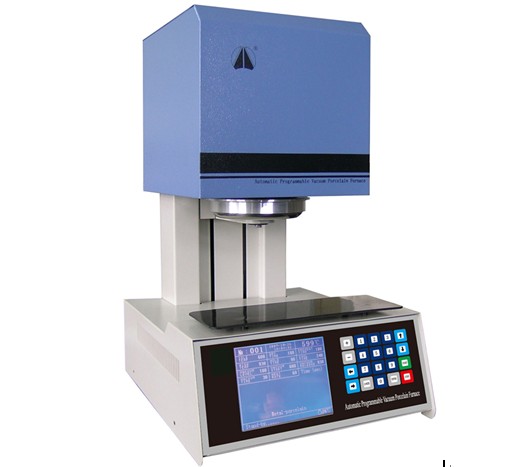
Automatic Programmable Vacuum Porcelain Furnace: Natural 1G and 2G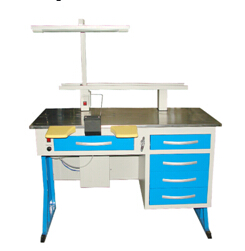
JNJT-3 Technician Table
HL-WDI Dental Spot Welder